Naarden: Stunt Suspension
Test Rider: Andrew Barrett
Company: Naarden Inc.
Photography: Naarden.biz; Andrew Barrett
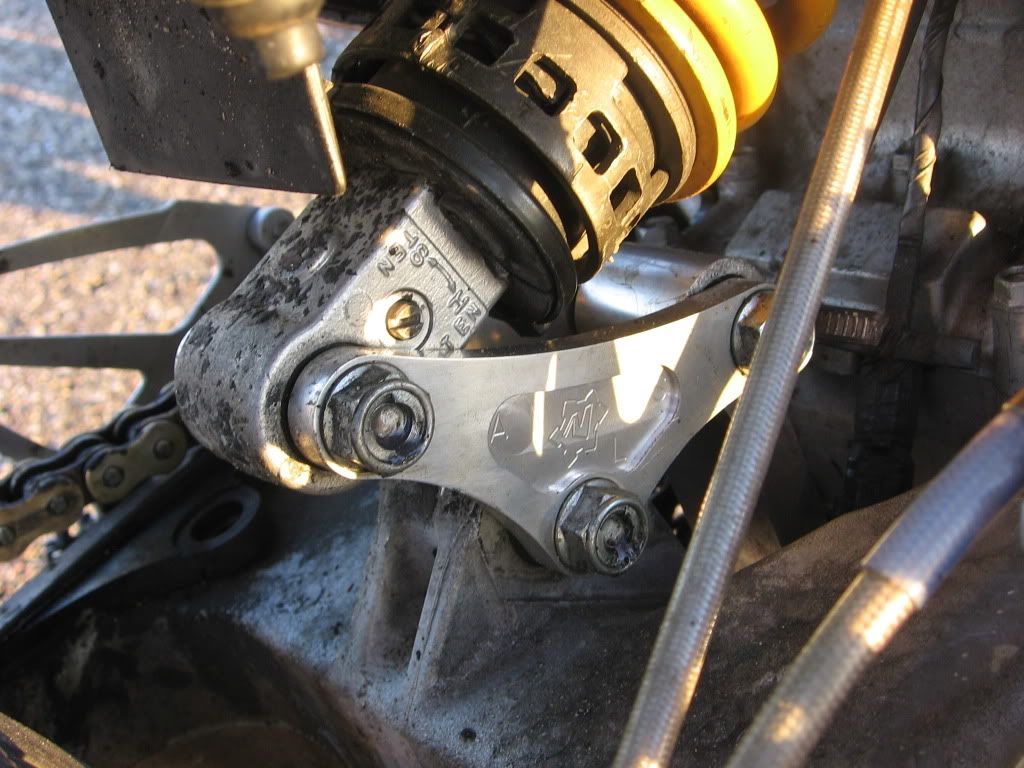
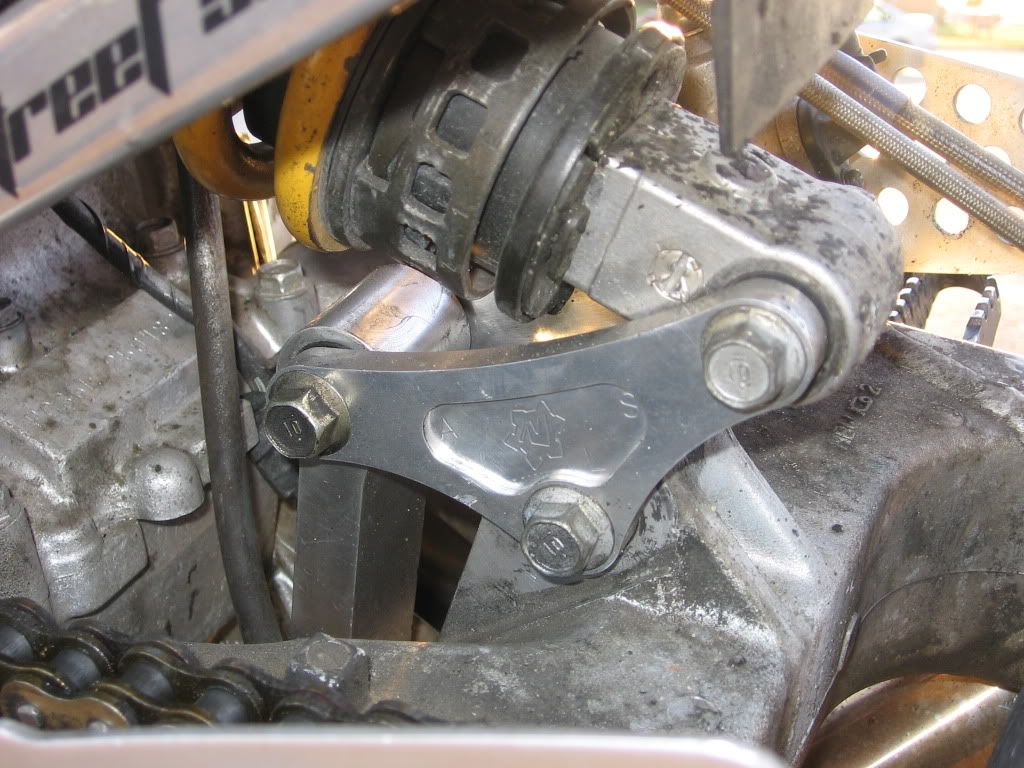
Product: Naarden SL200 “Saggy” Suspension lift link
Retail Price: $180.00
Test Bike: 2004 Honda CBR600 F4i modified full fairing setup
Accessories:
-Front Forks: 2001 Honda CBR929rr
-Upper Triple: HoHey Designs billet upper triple
-Handbrake: Magura 13mm master to FTI “Dual Quad” dual four piston bracket
-Clutch Perch: Righteous Stunt Metals- Righteous Stunt Clutch (Long Lever)
-Front Brake Master: 2001 Honda CBR929rr
-Crash Cage: Impaktech
-Clipons: Sick Innovations 50mm Side-Mount Clipons w/ 7 degree sweep
-Subcage: OMR Folding Peg Subcage w/ Stock Rear Pegs
-Upper Stay: Naarden Inc. Stainless upper stay, modified
-Others: Sick Innovations Round bar, Moose MX pegs, HTMoto Rear Seat

Okay so anyone who has been on StuntRide.com trolling around the forums in the last 8 months or so has probably run across the thread put up by Naarden regarding this part. It started back in February and sent all of us F4i holdouts into a frenzy. Could it really be that this part was going to hit and you cure the saggy, spongy rear suspension on the F4i!?!? Well yes!…. And no!…. Naarden had people testing it to make sure all was well before it got put into production. Fast forward to October, after months of harassing Naarden about how bad we all wanted them he had the final run set. We were ecstatic and decided to harass him a bit about them and “The Naarden Inc. Saggy Ass Suspension Link Bet” came to be. Naarden has been working all year to build the most complete, and well ran, freestyle store around so we decided to harass him about if they were really ready. So he made a bet with myself and two others as to whether they’d be done on time or not. The terms: If he won and got them done on time then we would get the parts as well as a whole gaggle of stickers to coat our entire bike with. If we won, and he didn’t have them done by midnight we got the part AND a free set of tires. No brainer, DEAL!!! Easy free tires, or so we thought. Game day comes around Naarden starts the twitter updates and we instantly knew we were in trouble. The man is a machine when it comes to making parts. Needless to say, we lost (hence the boat load of Naarden stickers on the bike)… But it’s totally okay because we still got first crack at a heck of a part. Now on to the good stuff!
Installation:
One word describes installation of this part, SIMPLE. It’s a straight remove and replace ordeal, for the most part. You don’t need a lift or a stand, simply loosen all the nuts and tip the bike onto the cage and slide all the hardware out. You may have to wiggle the swingarm around a bit to take pressure off the bolts but it’s super easy. The next part is where it gets a little tougher. The links don’t come with bearings so you’ll have to either press the ones out of your stock link or get a new set to press in. Either way the job is pretty easily accomplished with a vice and some sockets or, better yet, a good hydraulic press. Whichever way you decide make sure to grease the bearings before reassembly. After that just put it back together the way it came apart and you’re good to go.
Riding Impression:
From the minute I got the bike back up on the wheels I could tell a difference. Thing looks tough! I measured before and after and the top of my round bar went from 37 ½” to 39 ½”. The other thing you will notice right off the bat is that the shock is STIFF, it barely drops at all when you sit on it. As a side note, Naarden said the plates could be flipped for a different shock feel. Time to load up and ride!
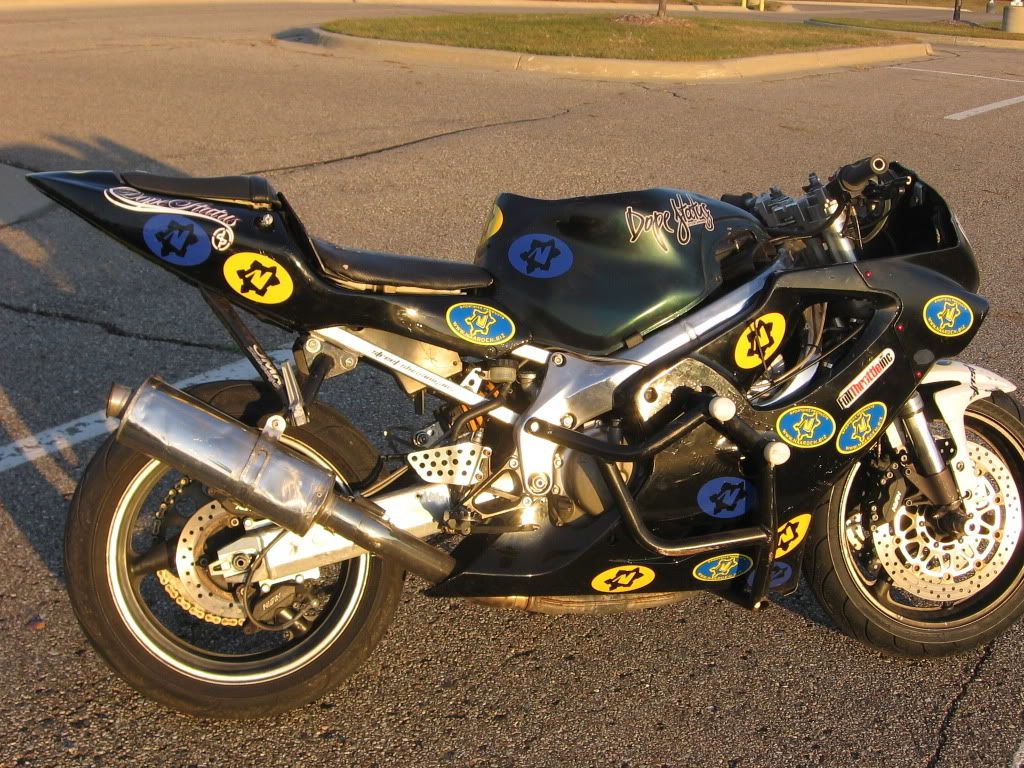
So I get to the lot and just cruised around to get a feel for the way the bike handled. Overall feel was great. Did feel like the bike handled a little slower so I just slid my forks down a little bit to get the steering quickness back, easy to do. I liked the raised tail feel, sits more like a 600rr to me as far as ergonomics go. Another thing I noticed was when I laid into it hard I didn’t slide back like I did with the stock link. I would have to assume that its because of the new angle of the sub frame.
Now it’s time to get to work I decided for testing purposes that I was going to go trick by trick and scribble down some initial impressions on the difference in feel, I ended up with 3 pages of notes on this thing!
My initial impression when I started doing wheelies was that the bike comes up a bit differently. Like most I have the muscle memory to where when I clutch up a wheelie anymore I don’t even think about it, I just do it and it goes where it needs to be. When I got the link on I noticed that I had to consciously gas a little more for it to snap to balance point. With the new geometry it makes total sense and is by no means a bad thing, just something I noticed. After the first session you don’t even notice anymore.
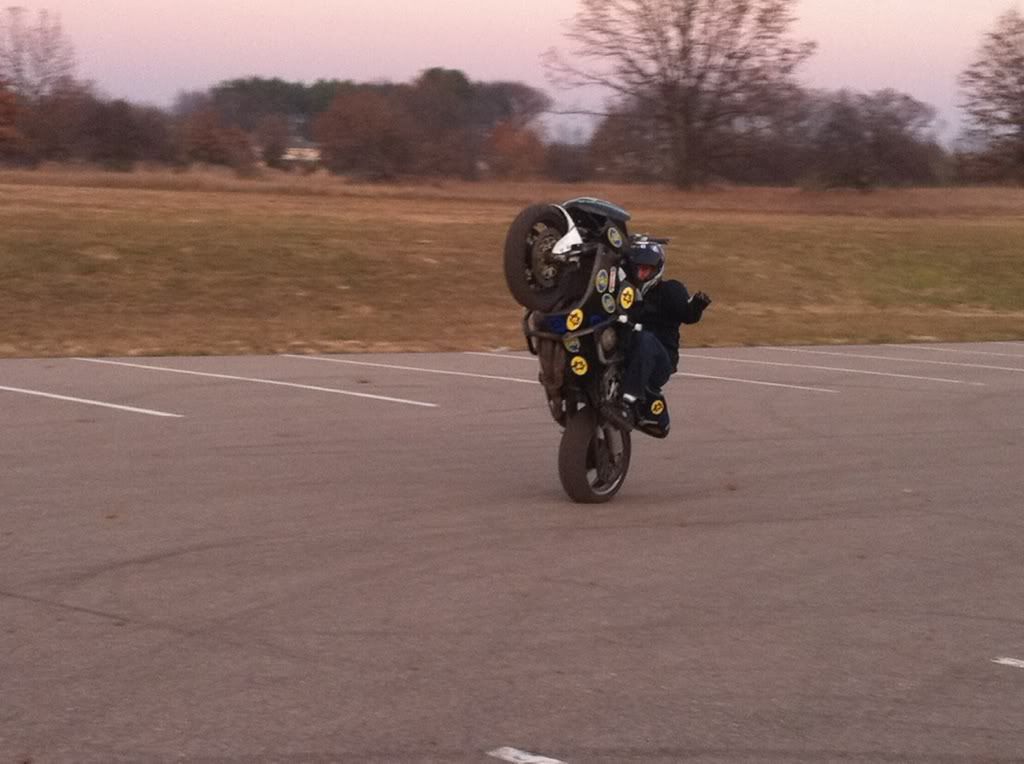
One HUGE plus of this part is that it makes the balance point feel gigantic. I was playing around with clutching it up using varying amounts of throttle to just see where it would catch idle. To my surprise it actually caught balance point quite a bit sooner than I was used to which was pretty exciting as when I’m trying to learn new combos I sometimes drop the front end a bit, this could save me! Also once the bike is up to balance point it is far more forgiving with your braking imperfections. Before if I would tap the handbrake a bit too hard I worried about it dropping low and forcing me to throttle it back up to where I wanted it. With the link it actually will let the front end go A LOT lower and still feel in control and comes right back up with the idle or a little tug on the arms. This immediately got me excited because I have been learning to tighten up circles and anything that makes the bike more forgiving is a huge plus for me!
Another changed I noticed was how much more stable the bike felt when clutching it up, making adjustments, and jumping around. Anyone has ridden an F4i much knows that every time you clutch them up the suspension squats like crazy and it upsets the chassis quite a bit. Over time you get used to the little wobble when you clutch up seat standers, sitdowns, etc. With the link on there that is COMPLETELY gone. You tag the clutch to bring up a wheelie and the bike just comes right up. The shock compression isn’t there or the chassis shake as it unloads, awesome stuff. Same type of deal with combos. When you jump from like sitdown to seat stander or sitdown to frogger the rear of the bike always wiggled around with the suspension movement. That is also completely gone which is incredible. Makes landing the jumps take a lot less finesse to keep straight and controlled. Couple that with the more forgiving balance point and I’ve started trying combos I’ve never done before.
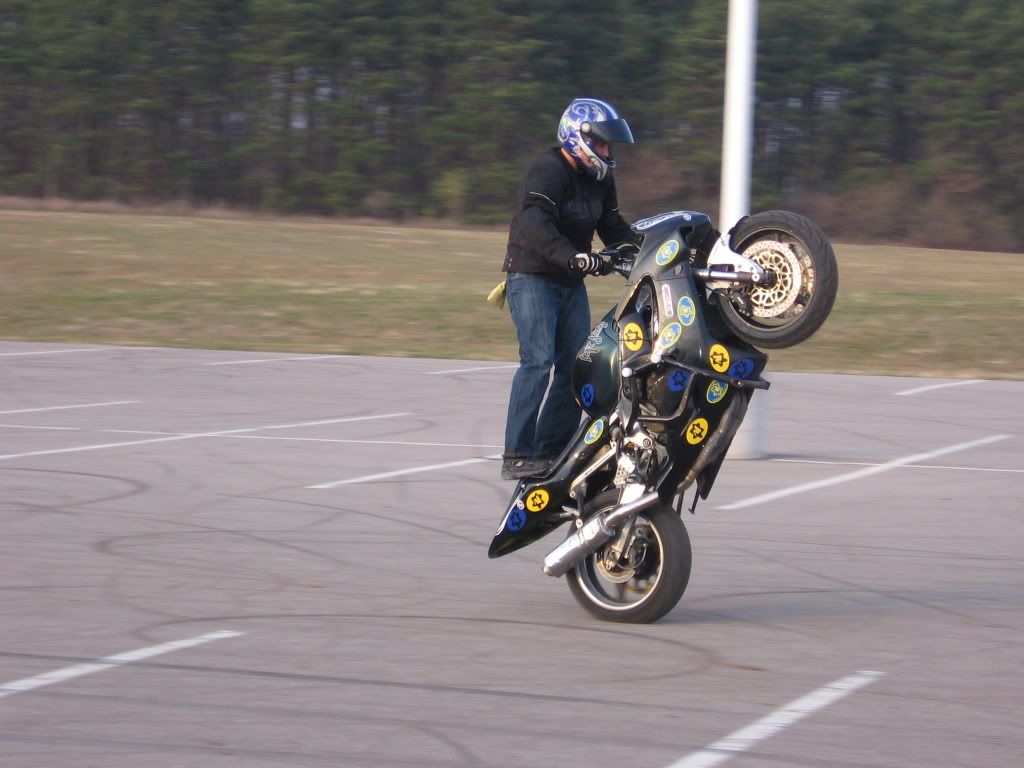
Now for what I was really hoping it would help, Stoppies! I am pretty squidly at stoppies so anything that helps is great. This did the trick. Normally on an F4i you have to bounce the seat pretty hard and bring the seat up to your butt to really get a stoppie up fast to roll them out. Well this is not super fun and makes your margin of error pretty small on the bounce because if you do it too much then you’re wearing the bike. I looped my first stoppie the week before I got the link this way. Since I installed the part I like to try stoppies a lot more. With the weight bias more on the front and the tail higher the bike feels in attack mode for stoppies. Once I got my tire all warmed up (it was 40* outside when I was testing) I went through some emergency type stops to see how the bike would react and was pleased. Bike starting lifting right up. The lot I was using was pretty small so I was attacking up to the middle of first then getting on the binders. As I started get more confident I realized that I wasn’t bouncing the bike anything like I had to before. Big confidence booster. Makes the bike come up way more predictable and I love that. Definitely made me feel more consistent. Pumped to get to a big lot and see what I could do.
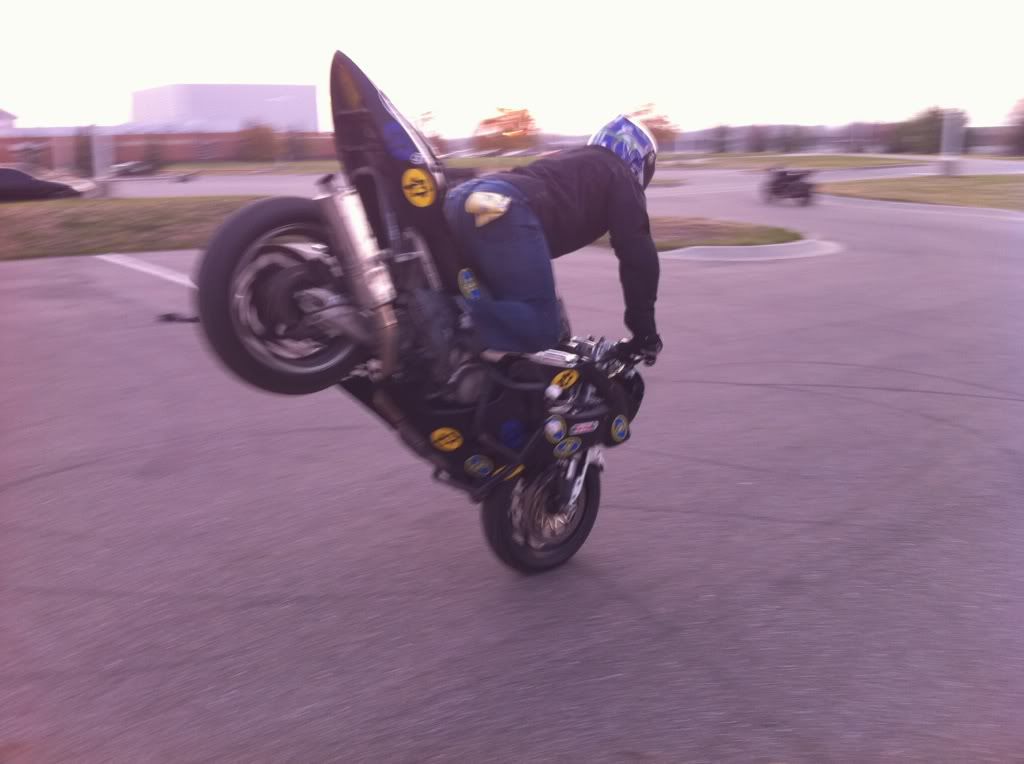
Lastly was burnouts, bunnyhops and drifting. I didn’t do a ton of burnouts but could definitely tell the difference right away. I didn’t have to lean over the front nearly as far to get it to break free which was cool. Actually made me confident enough to start trying to really learn stasis burnouts! Bunnyhops are a guilty pleasure trick for me. Some people think they’re dumb but I love them and do them a lot as I’m transitioning around the lot. The guys I was riding with said I gained an easy 2-3” so I’m super pumped. Now drifting has been my newest obsession, I did a whole session the other day of nothing but drifts! I noticed right off that the bike even slides easier just on the brakes. Just brake sliding 180’s got a ton easier. So as I started to drift I noticed I was low siding all over the place, it was actually kind of frustrating at first. So as I started to think about it decided I’d try to be more conscious with the throttle instead of doing what I was used to. Sure enough the bike broke free with significantly less throttle and felt a lot more controllable. I love that the bike no longer bounces all over in the rear as you’re on and off the throttle. Big plus for me!
Conclusion:
After having the link on for about 5 sessions I can honestly say that this is one of the best parts I have ever put on my bike, if not THE best. It makes the bike feel great and inspires a lot of confidence. A lot of the little irritating things about riding the F4i are now gone. Now that I’m used to it it’s something I wouldn’t want to do without. Easy to install, looks great, functions better than it looks…. A+ work! Make sure to get to Naarden.biz to get one ordered and make sure you put in the comments that you were referred by Bornefreestyle.com! Now get out and ride!


 D5 Creation